How to Repair PST File in a Few Easy and Simple Steps.
For your need to repair corrupt PST files, Outlook file repair tool will serve best. To bring even more easiness for you in the PST repair process using our tool, we are giving a detailed and illustrative step-by-step description of the process to repair PST file, which is explained below:
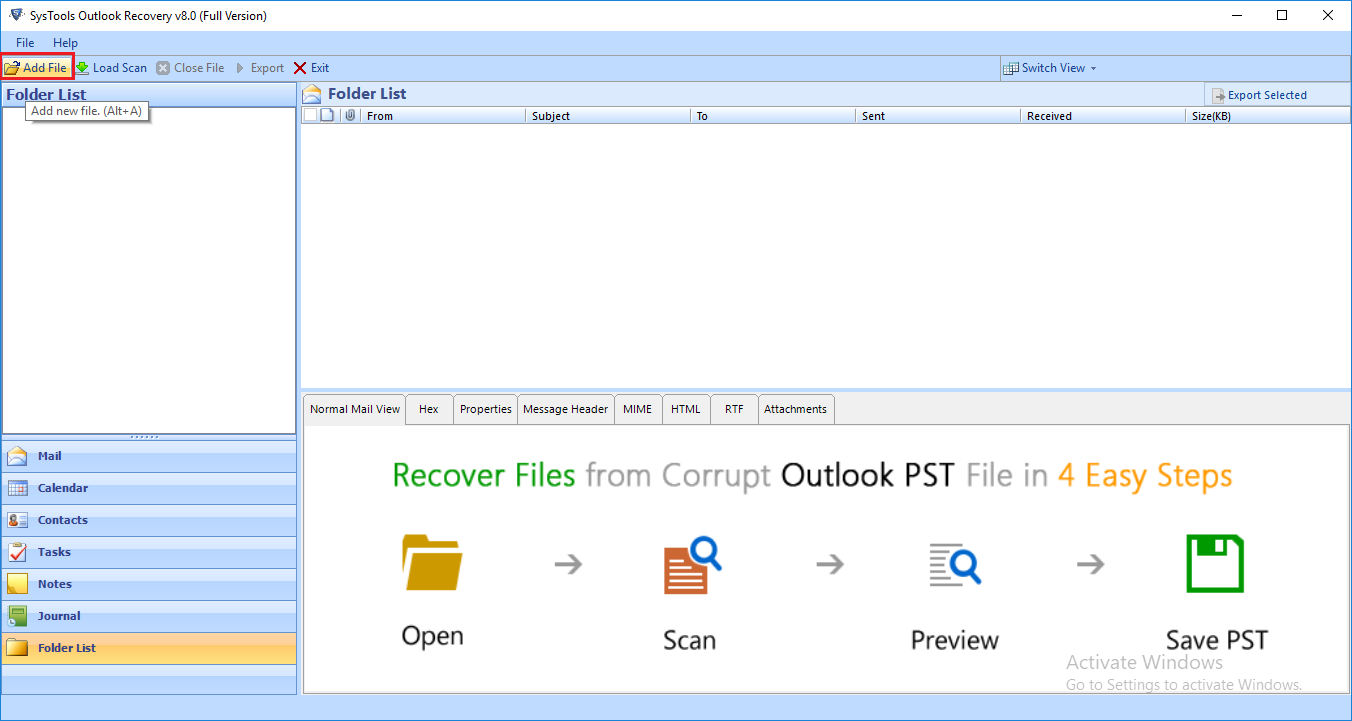
Step 1
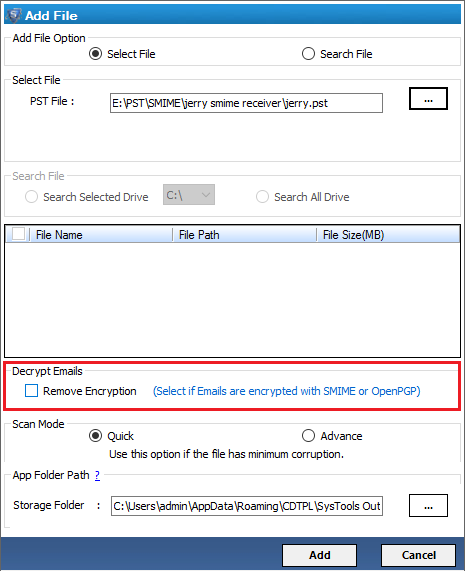
Run Outlook PST Repair Software and click on "Add File" button.
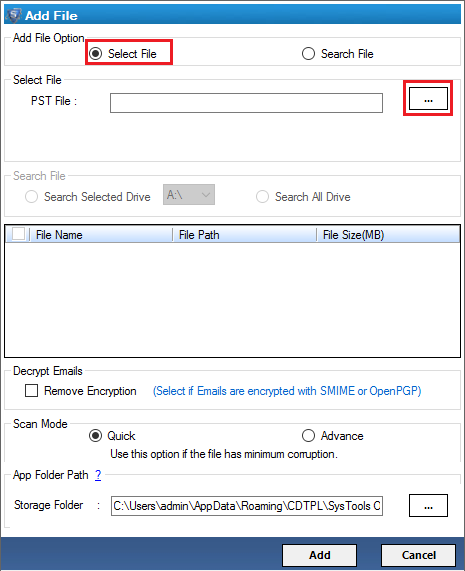
Step 2
Press "Select File" option to add a PST file.
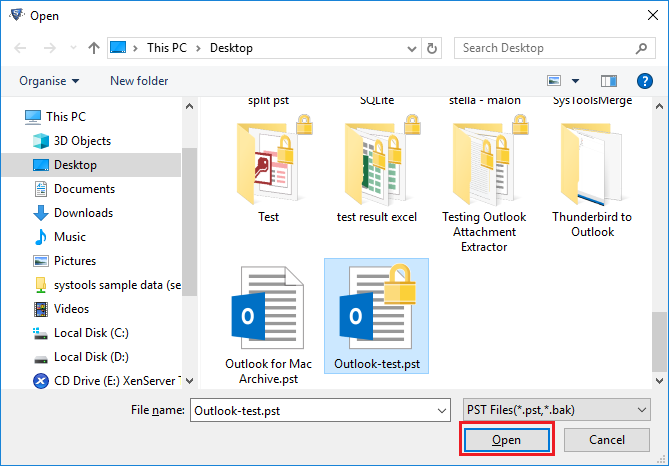
Step 3
Click "Open" button to add PST file in the PST Repair Tool.
Step 4
Click "Search File" option to search PST file from selected drives.

Step 5
After pressing Search File option, all the PST files will be displayed in the software panel.

Step 6
To Remove Encryption from Outlook Email Messages:
Click on the link given: Outlook Email Decryption
Step 7
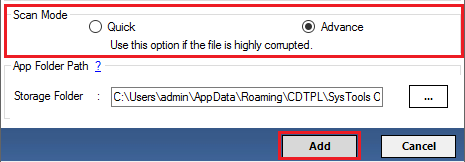
Now, select "Quick Scan" option for mild corruption and "Advance Scan" for severe corruption.
Step 8
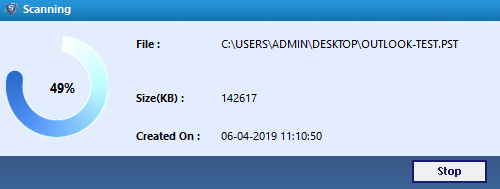
A window pop-up will display the scanning progress.
Step 9
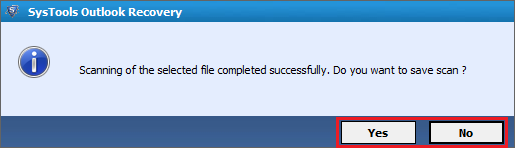
Click on "Yes" to save repaired PST file else click on "No" button.
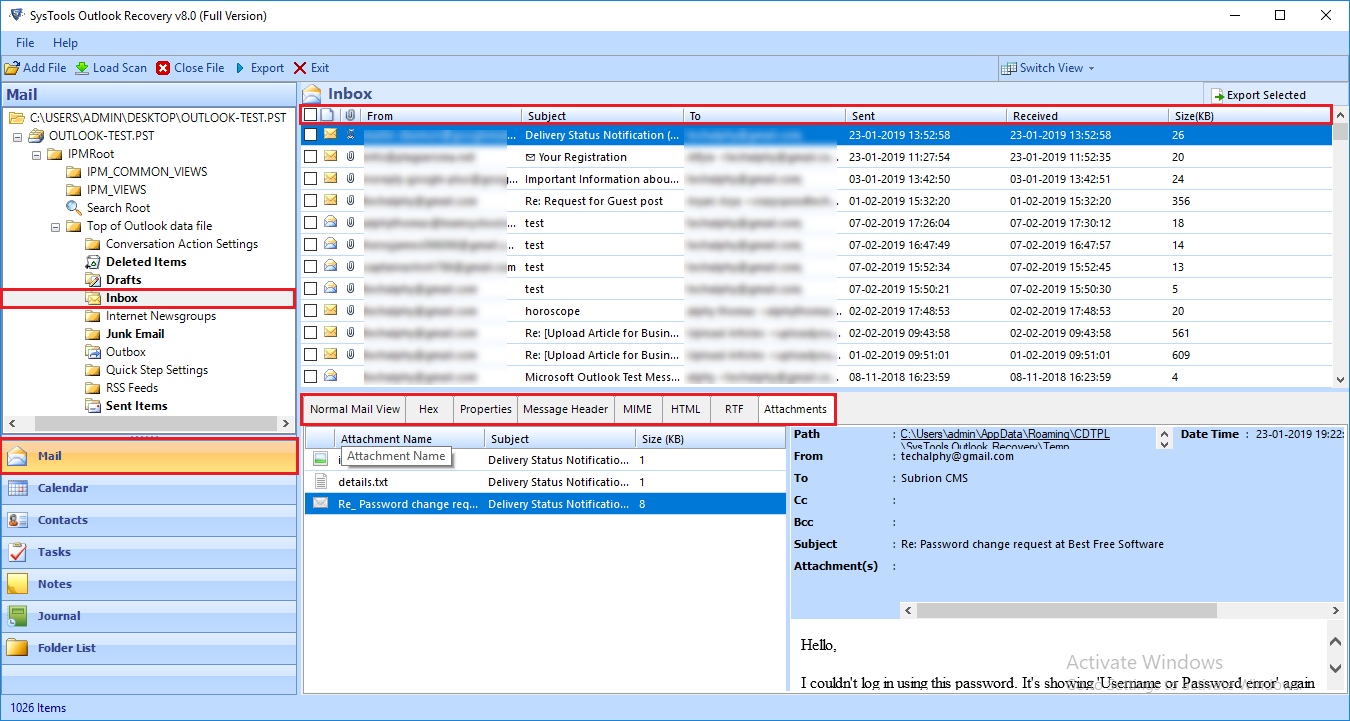
Step 10
Select Mail tab to view the emails in "Normal Mail View" and "Attachments View".
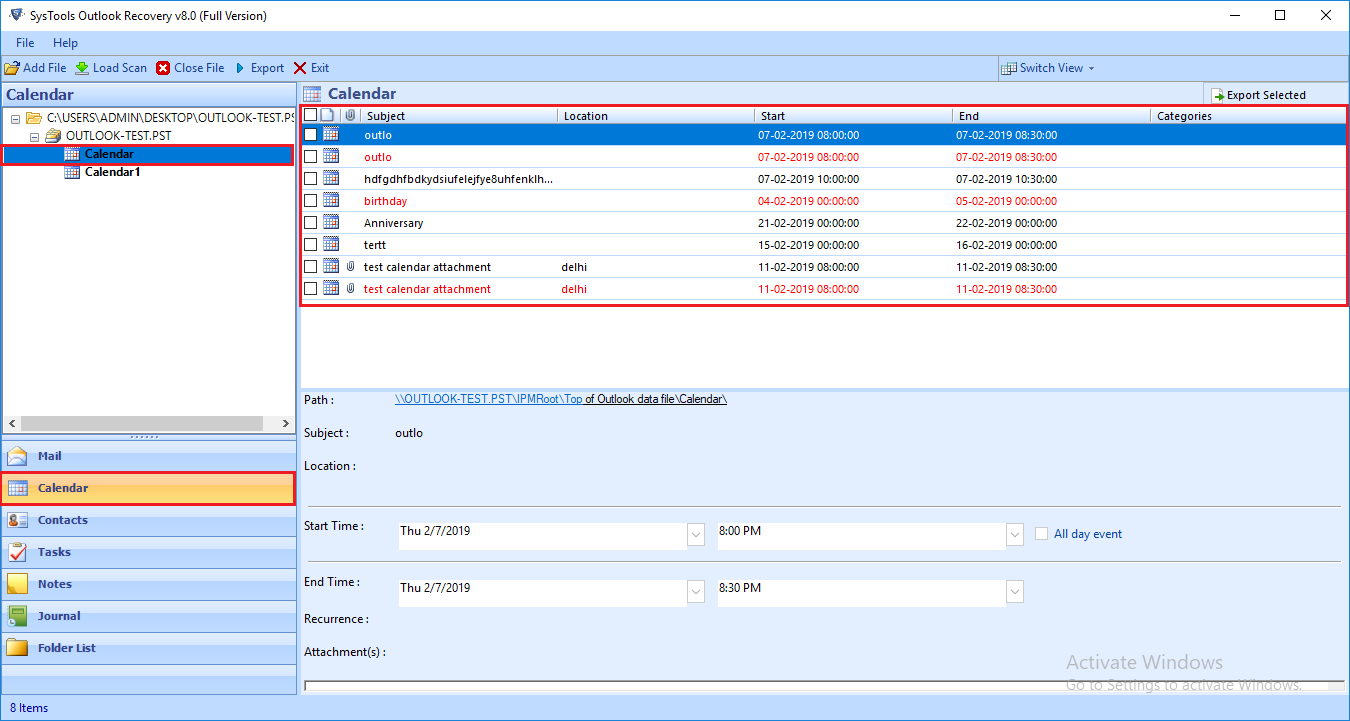
Step 11
Click on "Calendar" tab to view only Calendars in the PST file.
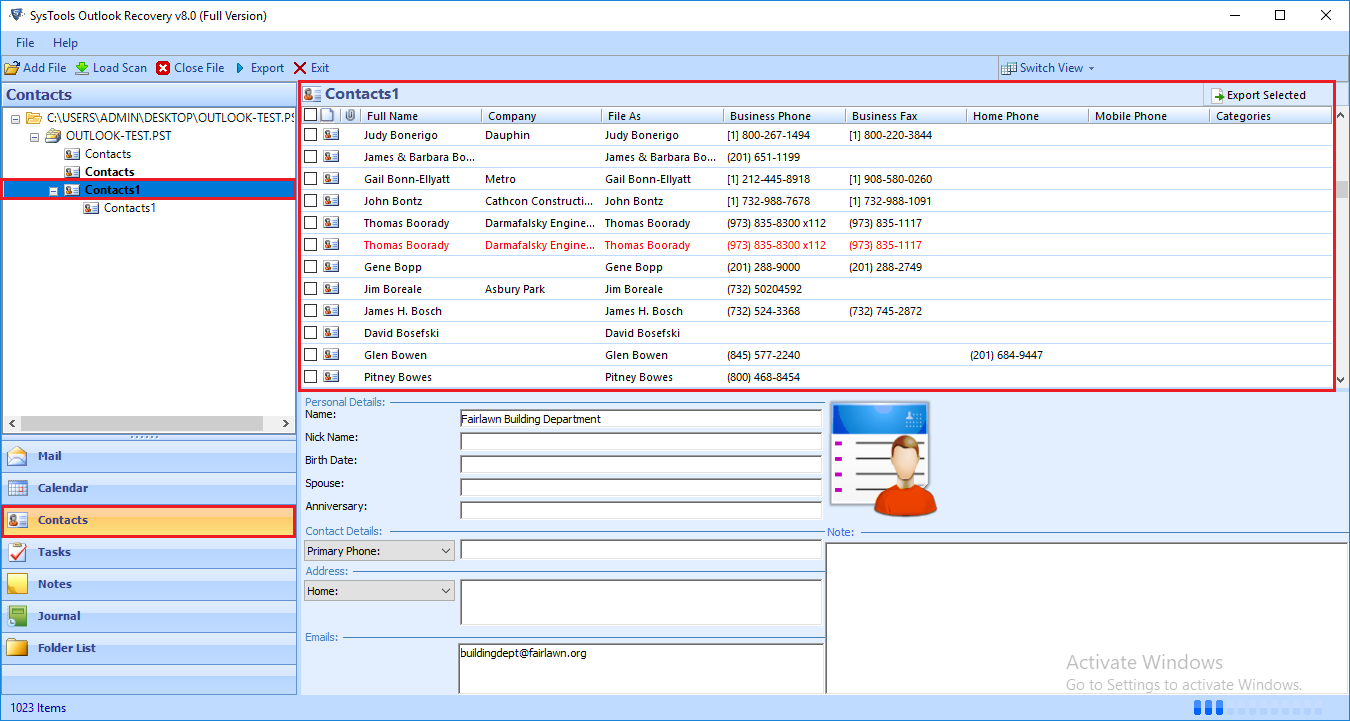
Step 12
Choose "Contacts" tab to open Contacts only from PST file.
Step 13
Now, click on "Export" button.

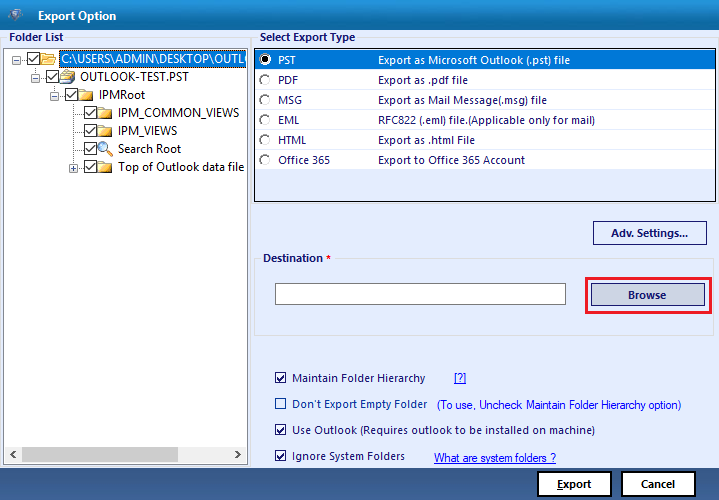
Step 14
PST repair tool provides five export options i.e. PST, MSG, PDF, EML, HTML, Office 365.
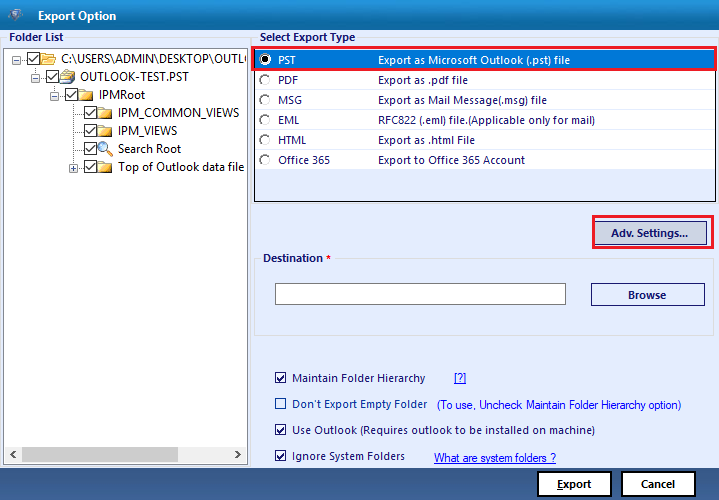
Step 15
You can also use Split PST option to break large PST file by size. It also offers Date Filters to export emails from selected time period.
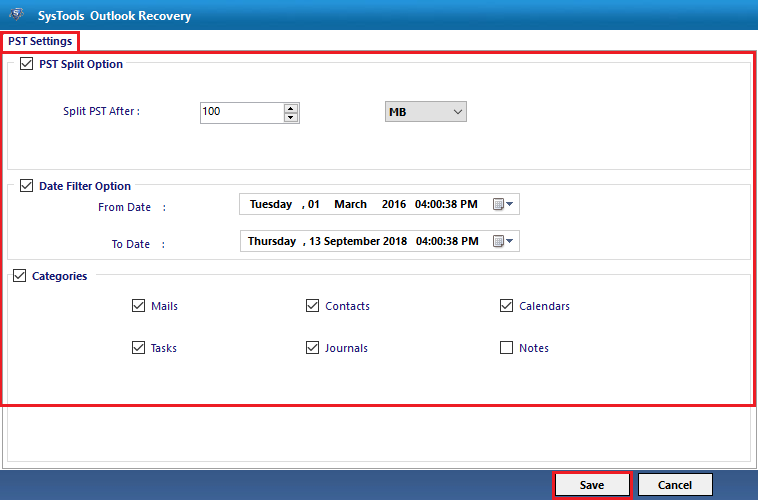
Step 16
Press "Browse" button to choose destination.
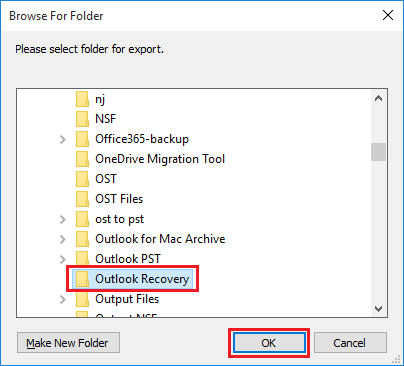
Step 17
Here, you can select the destination folder to save the Outlook data file.
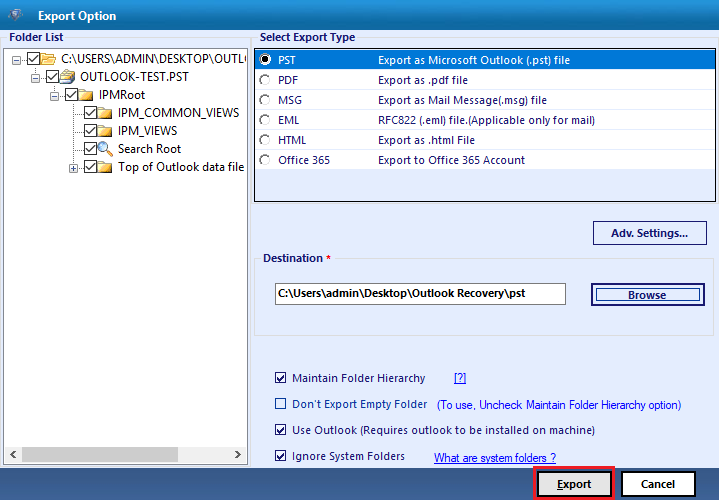
Step 18
After selecting the destination location, press "Export" button.
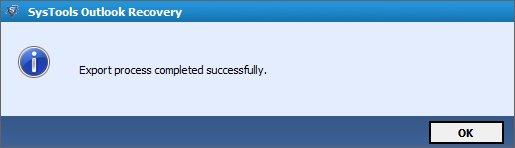
Step 19
Finally, a pop-up will appear showing the successful completion of the PST repair process.